
TL;DR
1
Access Settings
Log in and go to Settings > Checkout.
2
Open Customize
Click Customize to enter the theme editor.
3
Make Customizations
Add logo, change colors, and adjust typography.
4
Save Changes
Click Save to apply your customizations.
Let's Do It Together!
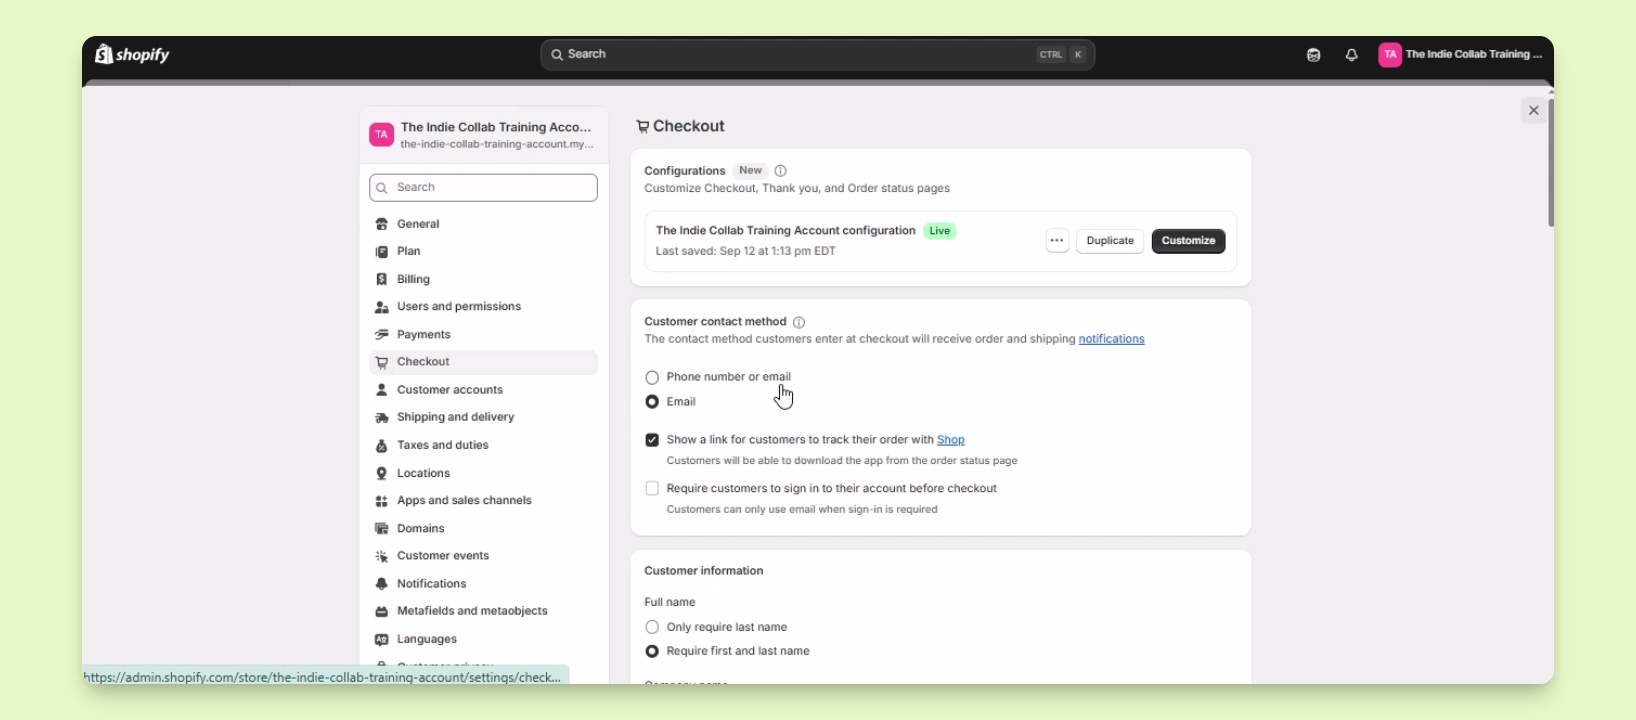
Step 1: Access Checkout Settings
Log in to your Shopify account.
Click on Settings in the lower left corner.
Select Checkout from the Settings menu.
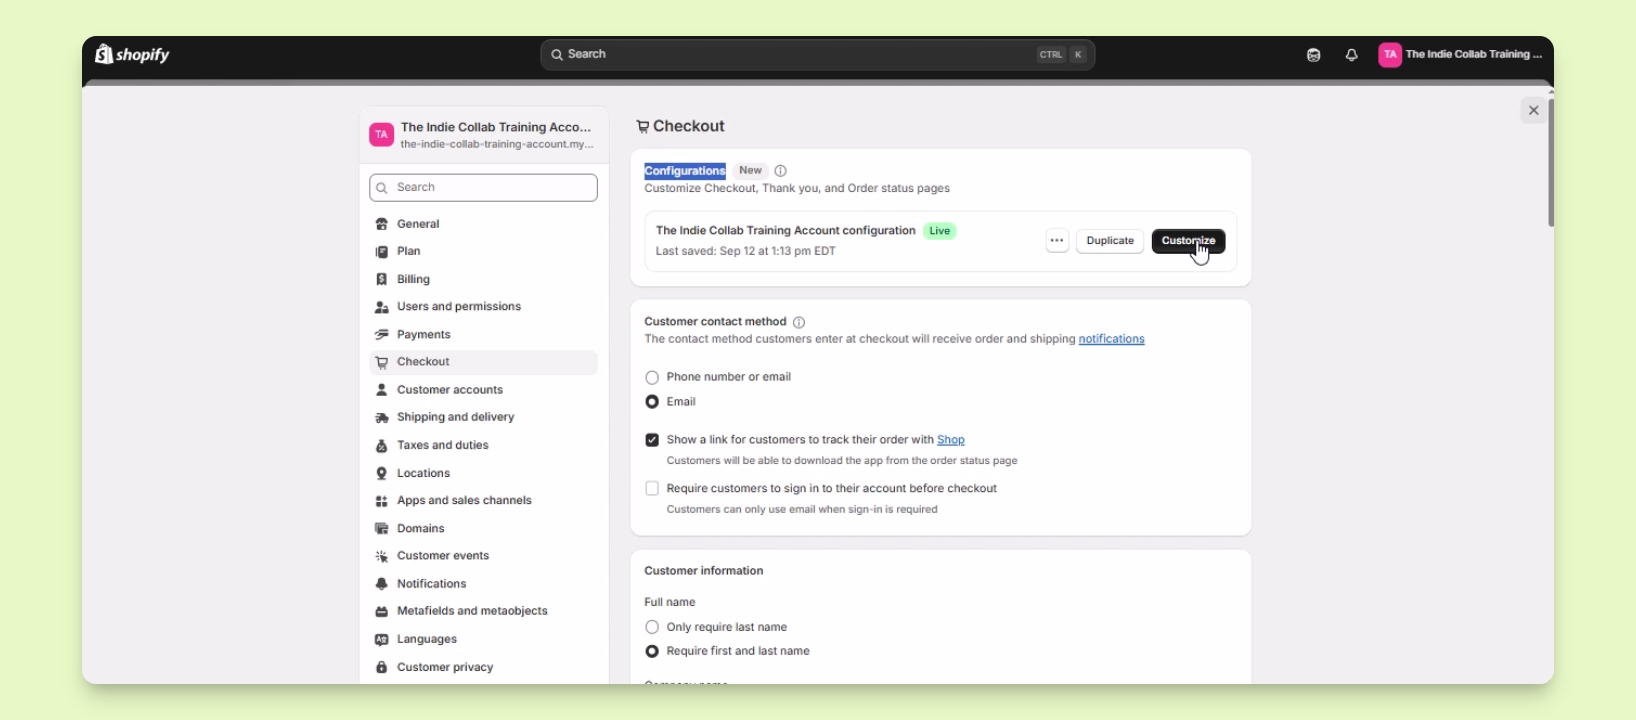
Step 2: Open Customization Options
Find the Customize button under Configurations.
Click on Customize.
You will be redirected to the theme editor for the checkout page.
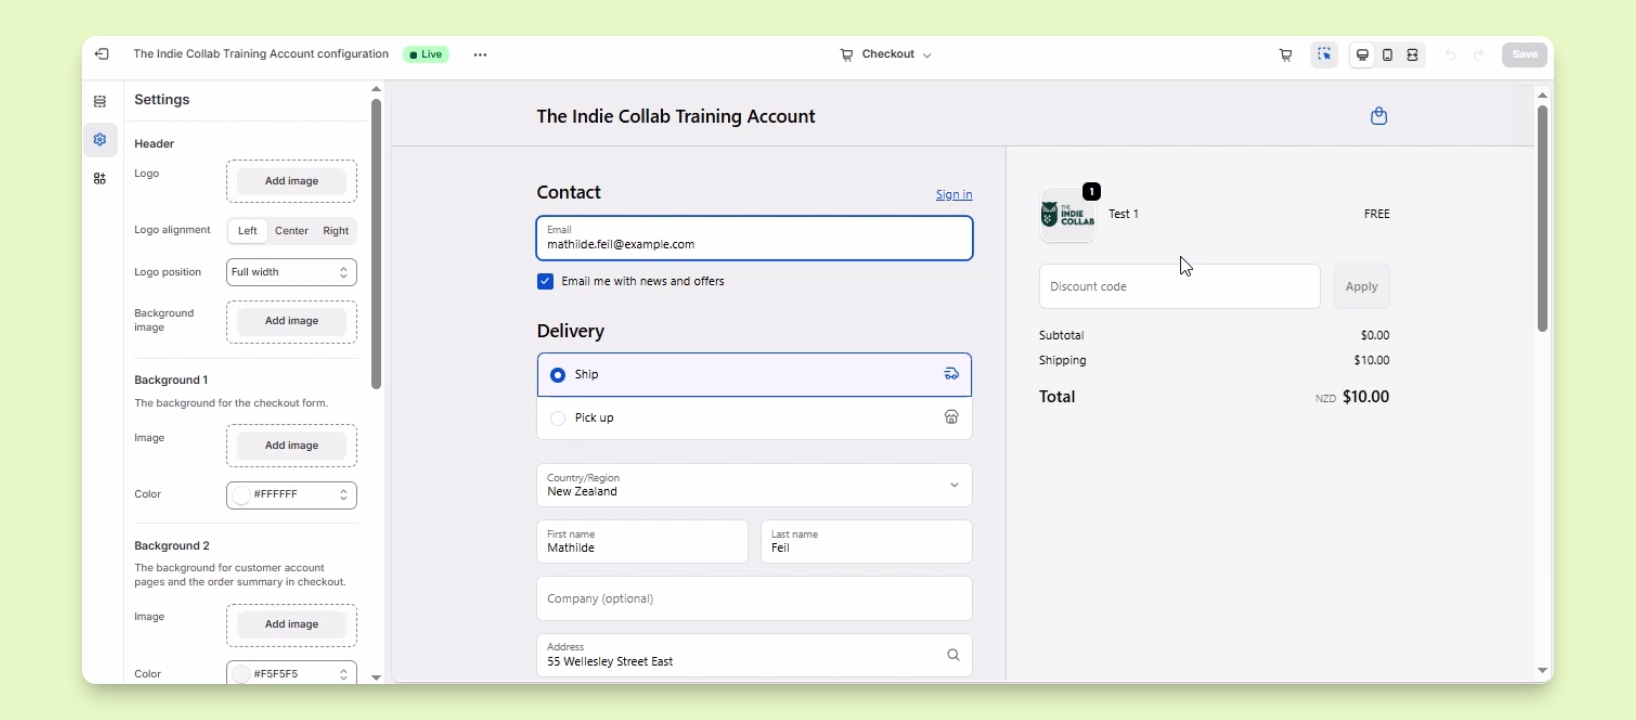
Step 3: Customize Your Checkout
Add your logo to replace the default store name.
Edit the logo alignment and position as needed.
Add a background image or change the checkout's background color.
Change the color for accent buttons and error messages.
Adjust the typography for headings and body text to match your branding.
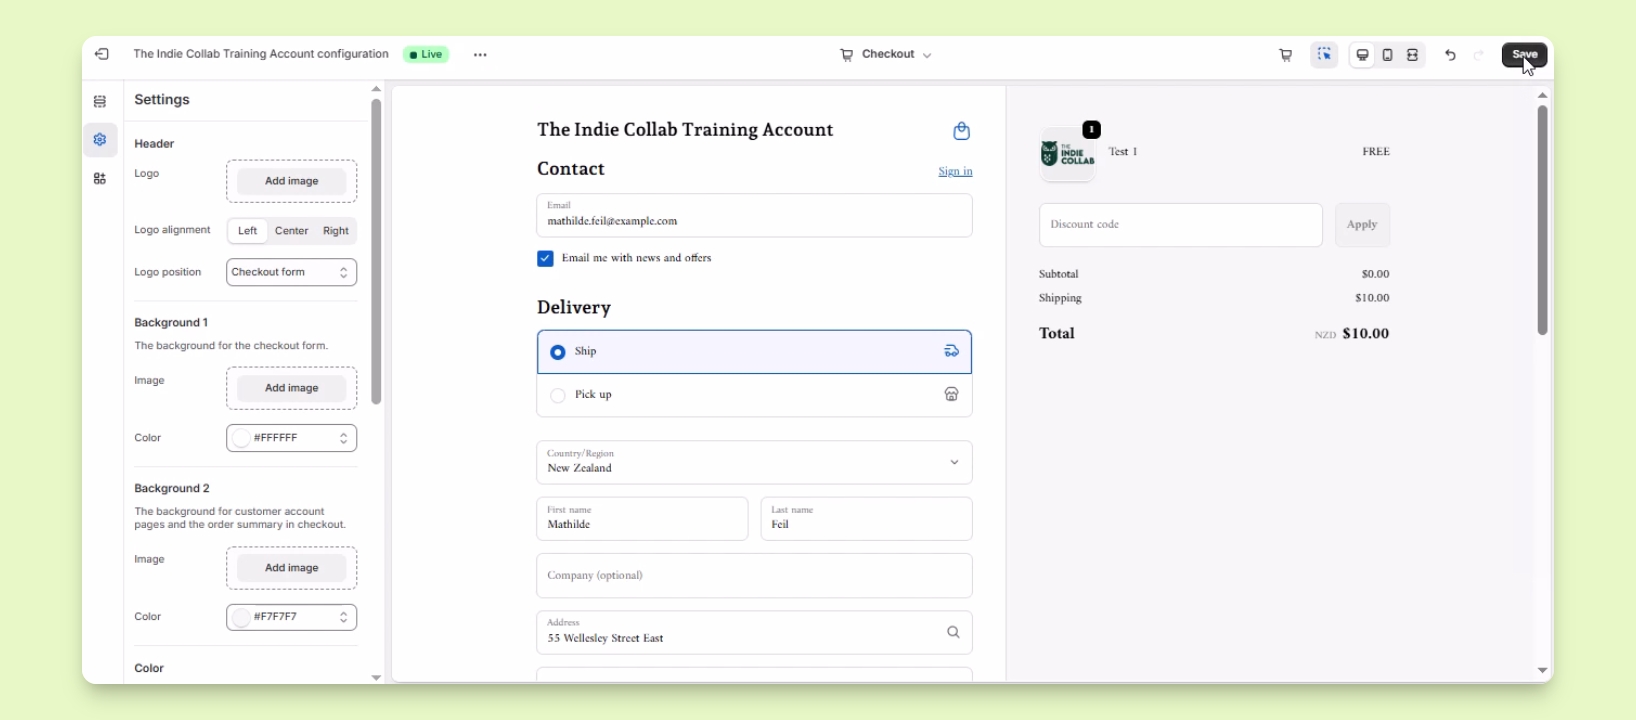
Step 4: Save Your Changes
Once you're done customizing, click Save to apply the changes.
Your changes will now reflect on your live website.
Troubleshooting
Logo not displaying
Ensure the logo file is in a compatible format.
Changes not visible
Check if you saved the changes properly.
FAQ
Can I revert my changes?
You can manually undo changes or restore from a backup.
What image formats are supported?
Supported formats include PNG, JPEG, and GIF.