TL;DR
Let's Do It Together!
Step 1: Access Collections
Log in to your Shopify account.
Navigate to Products and click on Collections.
Click on Add Collection on the upper right.
You will be taken to the page to enter collection details.
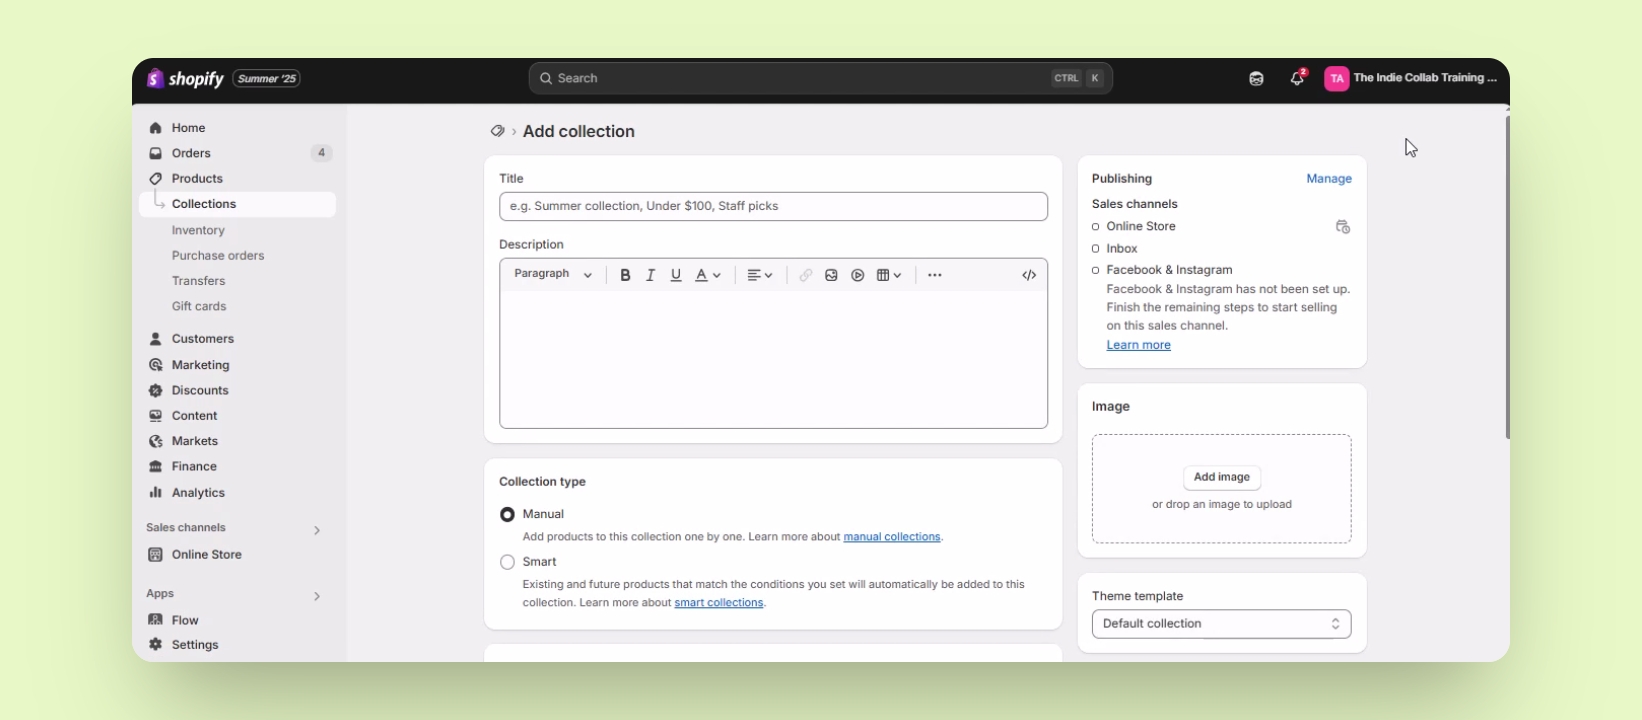
Step 2: Set Collection Type
Ensure the collection type is set to manual.
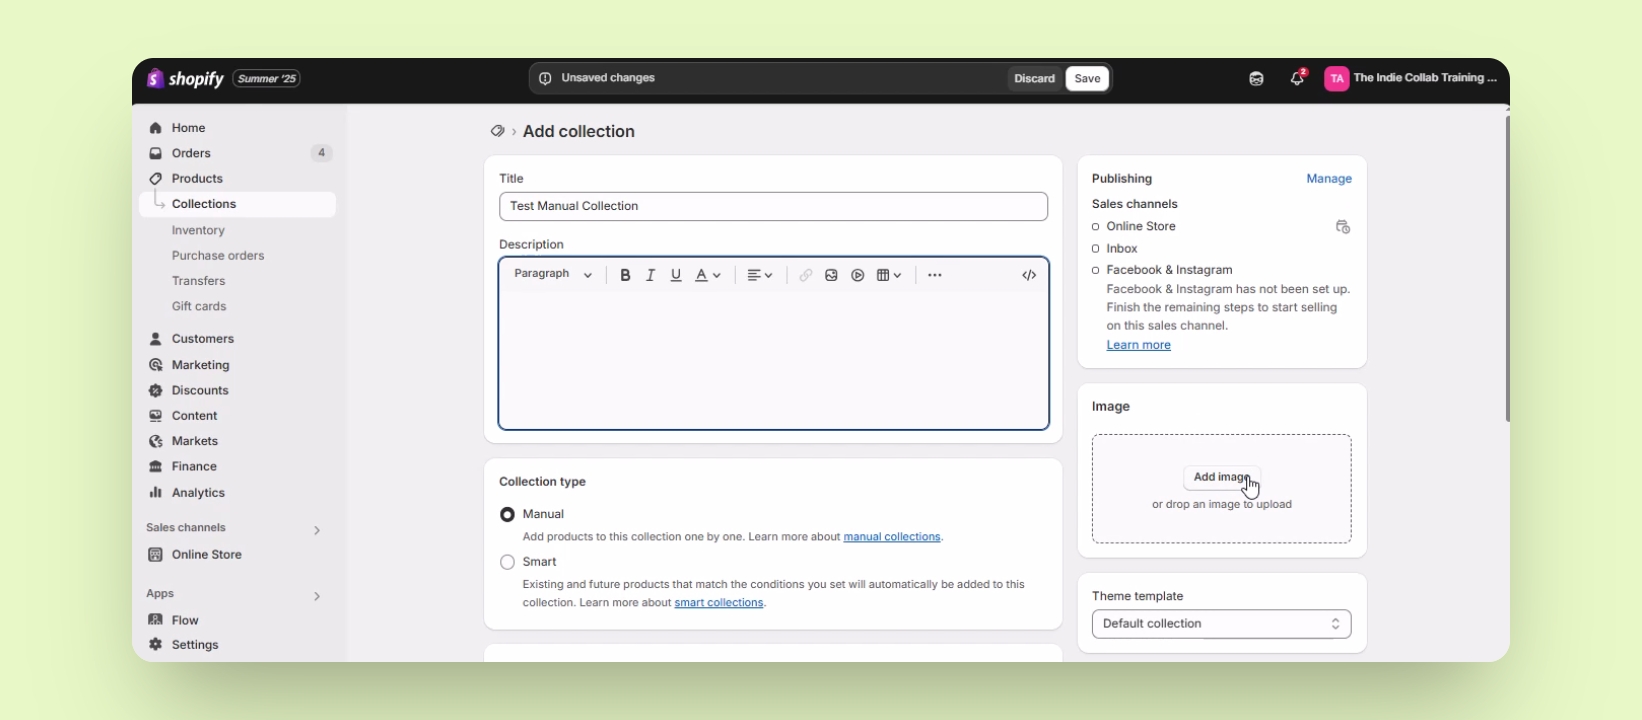
Enter a title for your collection, for example, Test Manual collection.
You can also add a description and an image for your collection.
Step 3: Add Products
Scroll down to the Products section.
Click on Browse to find products to add.
Check the boxes beside the products you want to add and click Add.
Your selected products will be added to the collection.
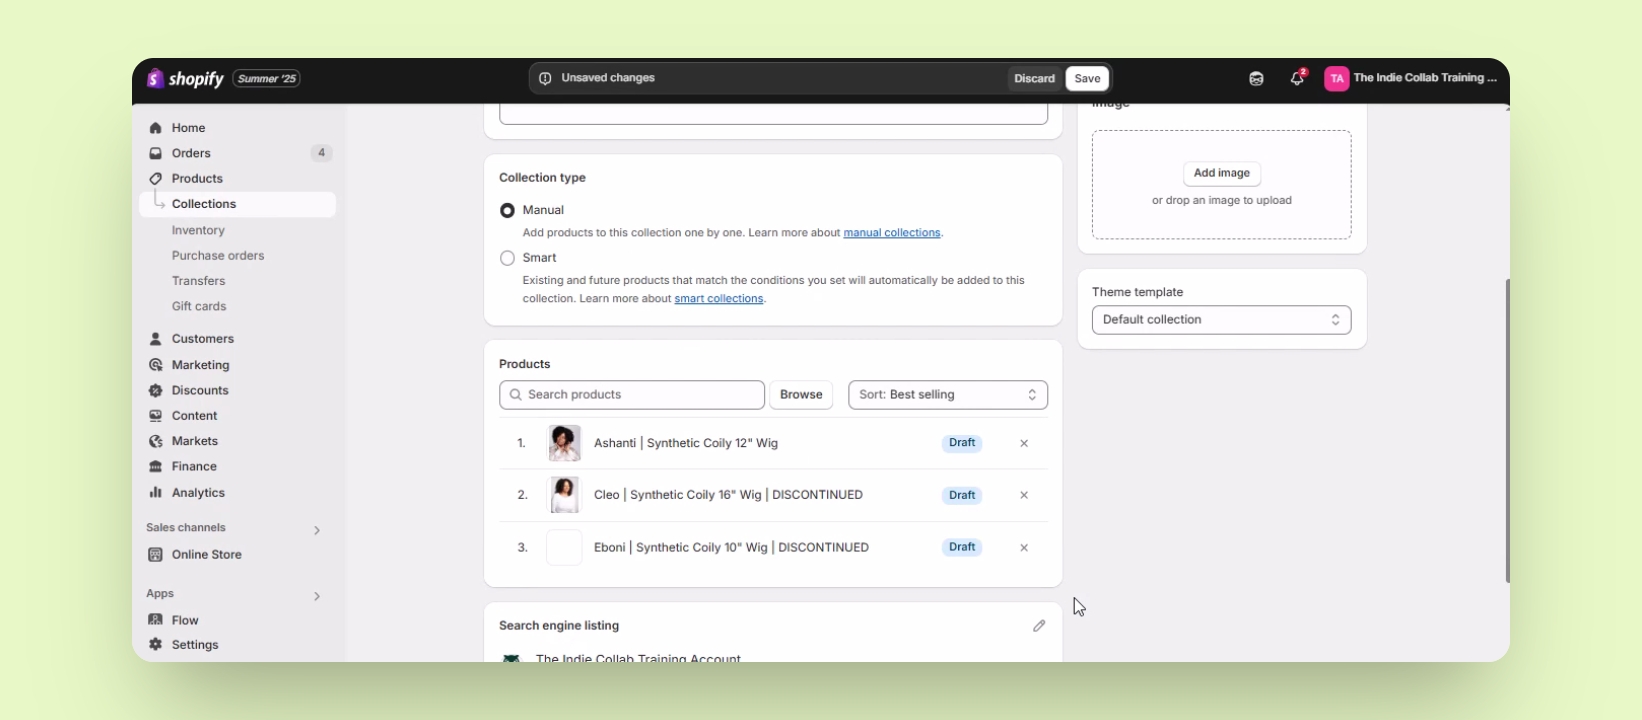
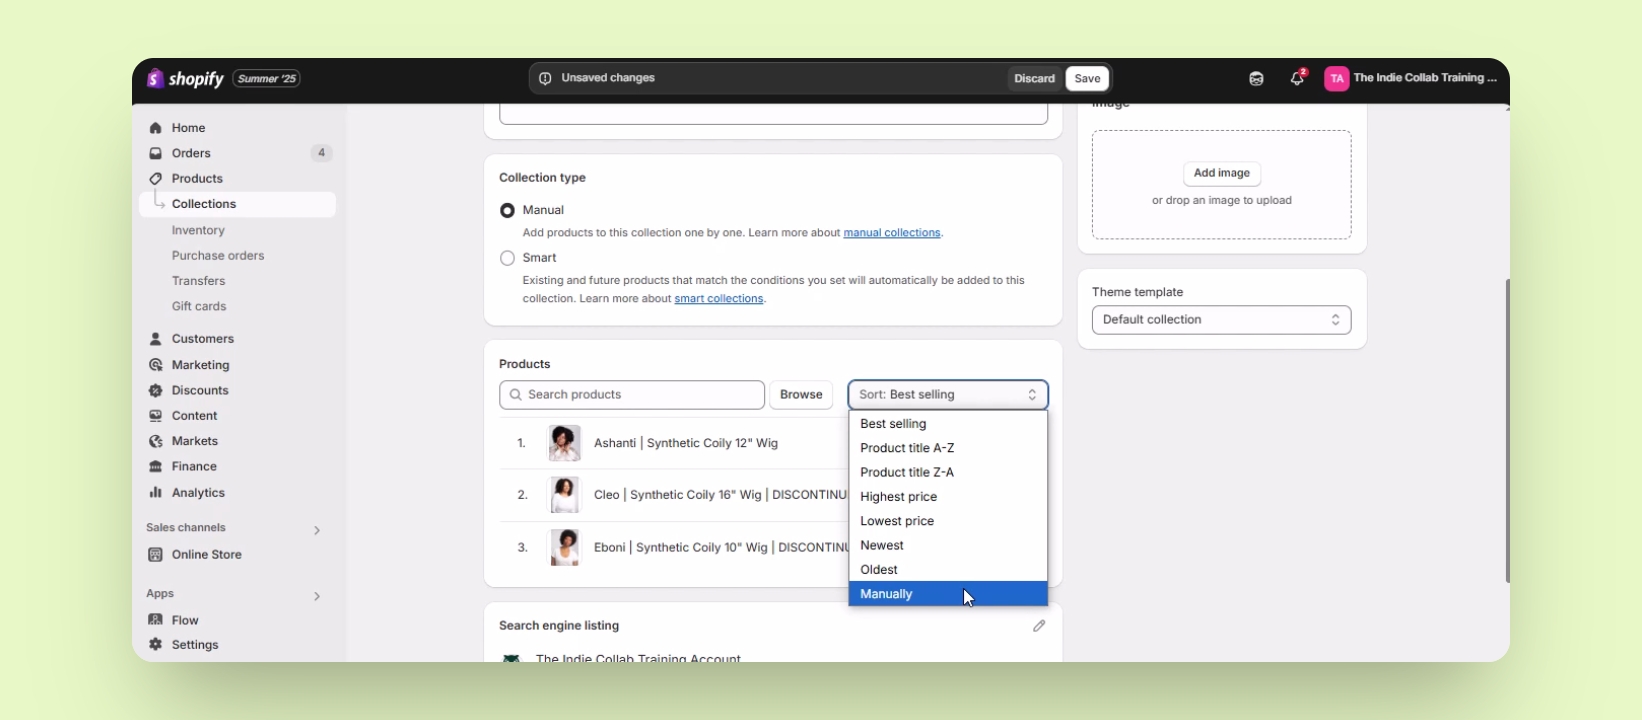
Step 4: Sort Products
Products can be sorted by various criteria or manually.
If sorting manually, you can rearrange products as desired.
Click Save to finalize the collection.
You can drag and arrange products in your preferred order.
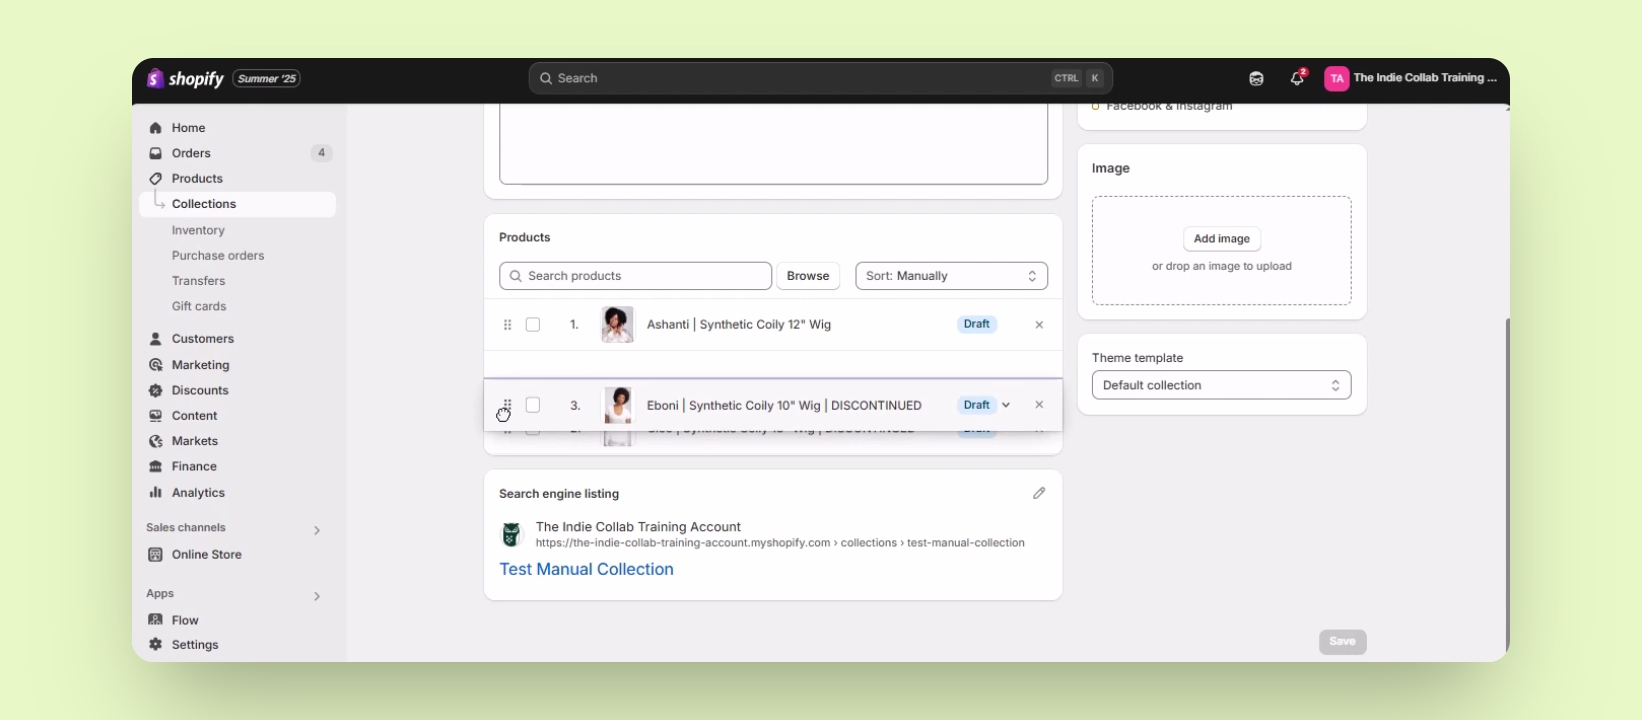
Step 5: Rearranging Products
To make a product first, press and hold the six dots menu button.
Drag it to the top of the product list.
Your chosen product is now the first in the collection.