
TL;DR
Let's Do It Together!
Step 1: Access Products
Log in to your Shopify account.
Navigate to Products.
Click on the Add product button in the upper right corner.
You will be redirected to the product details page.
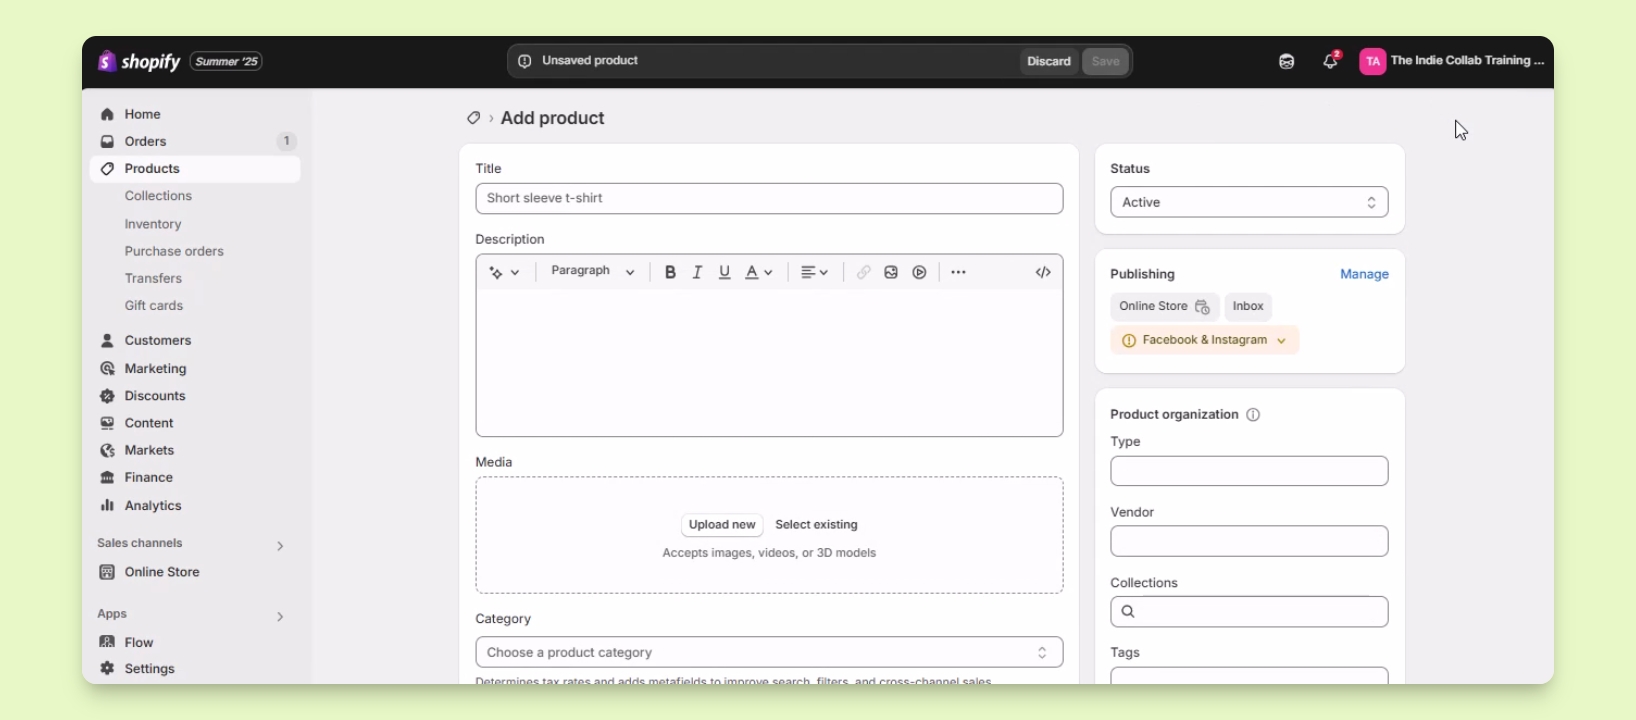
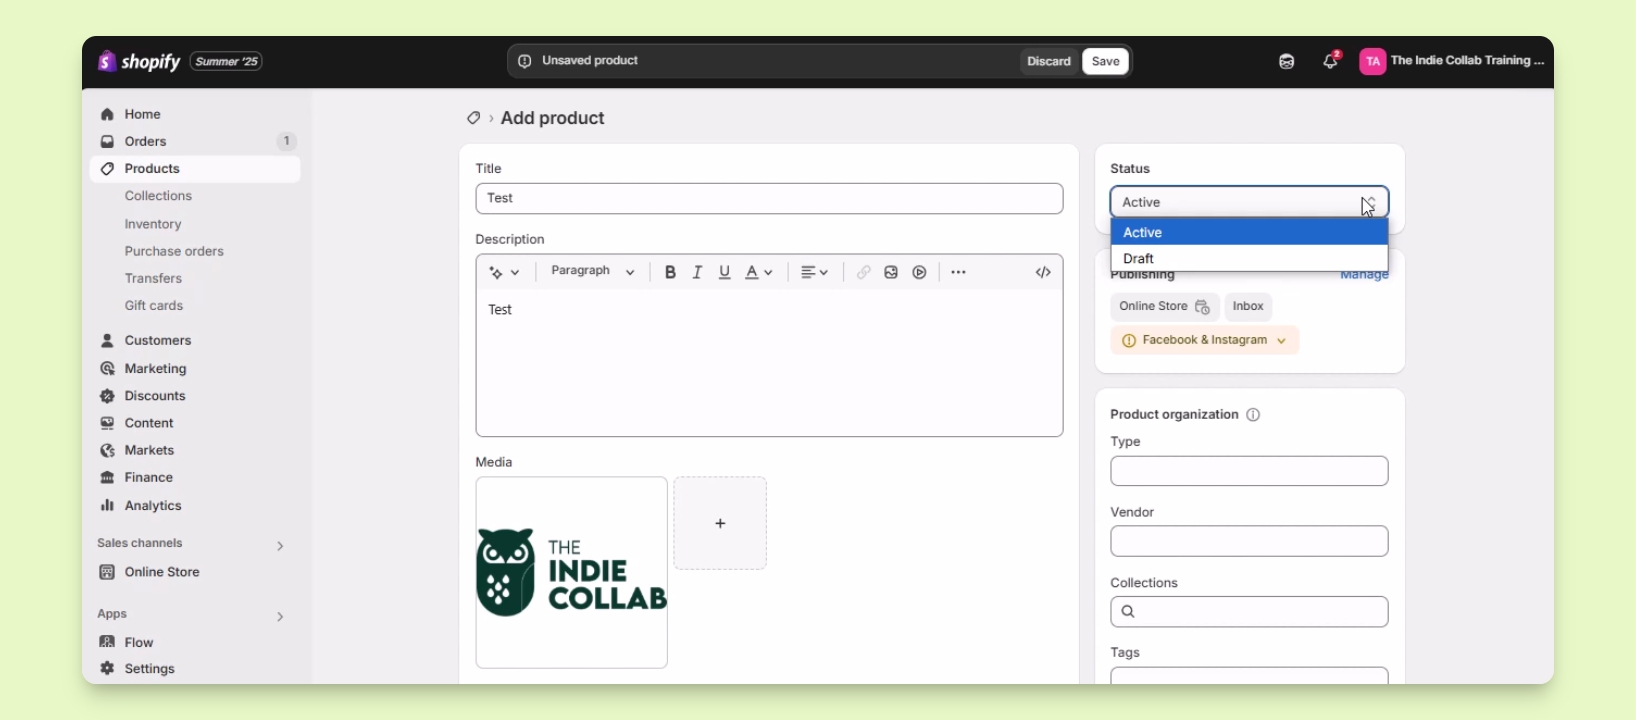
Step 2: Enter Product Details
Input Test as the product title and description.
Under Media, add product images by selecting existing ones or uploading new ones.
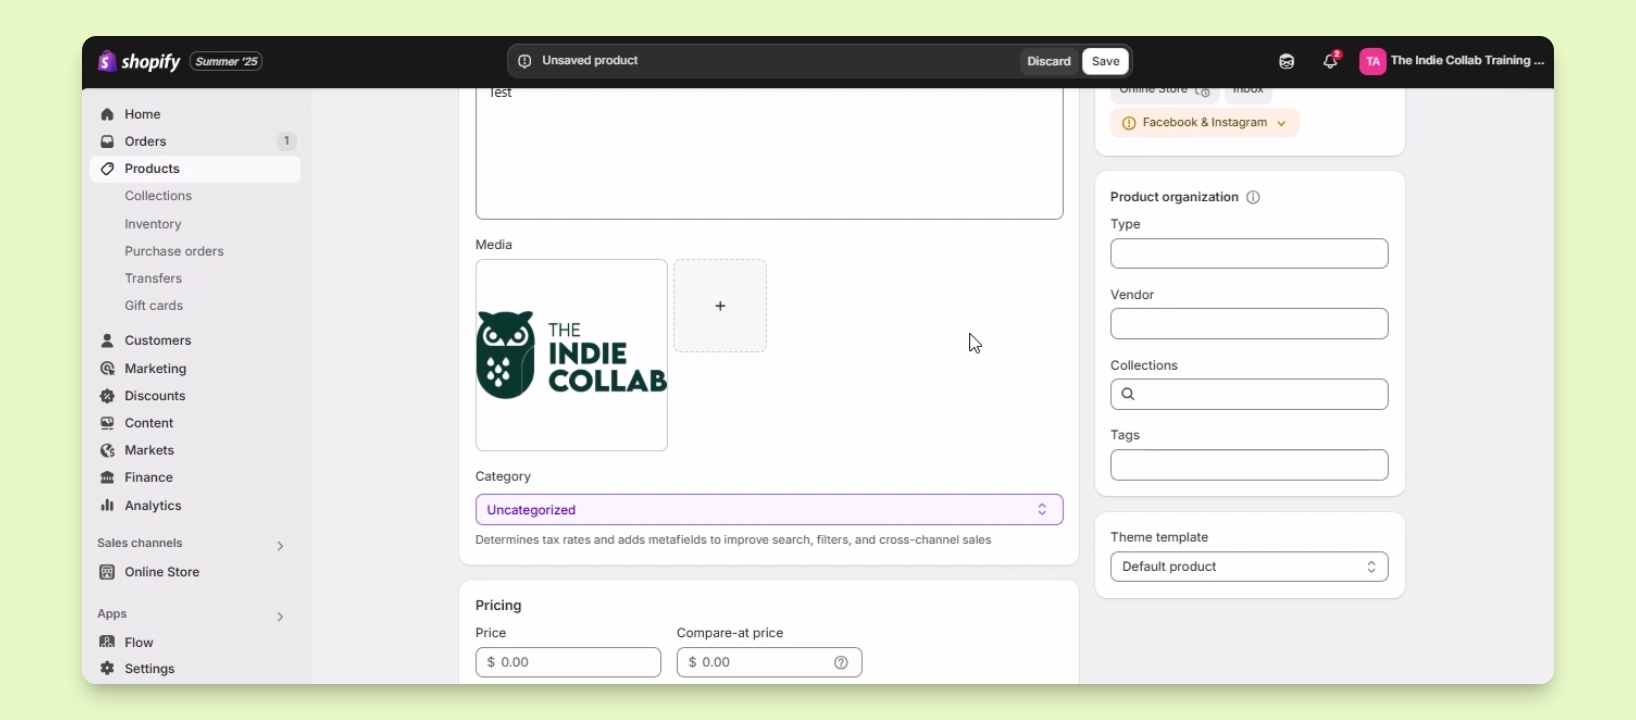
Step 3: Set Product Category and Pricing
Set the product category for tax purposes and add metafields for better search results.
Enter the product price and specify if you want to charge tax.
Enter the cost per item to see profit and margin.
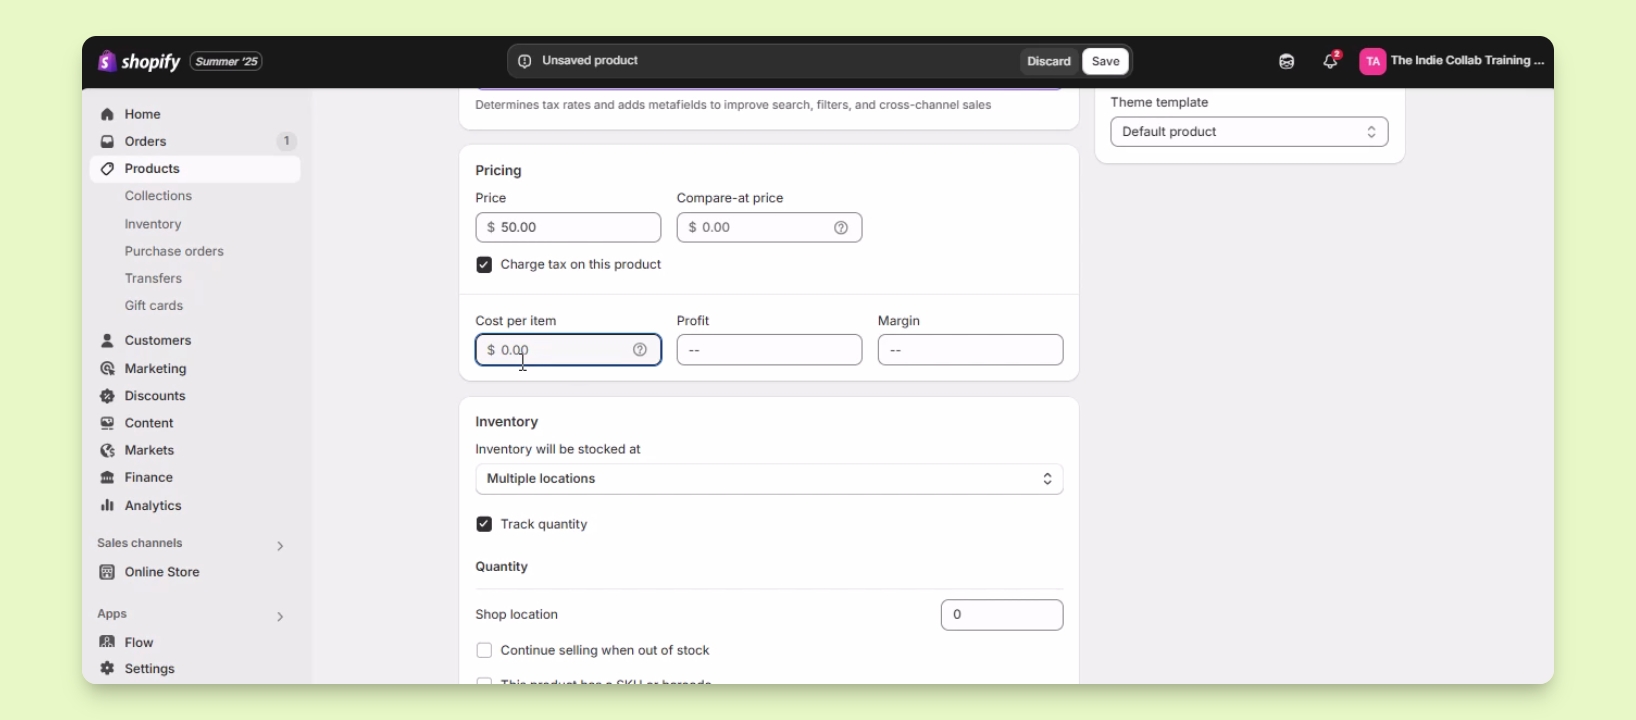
Step 4: Manage Inventory
Enter the inventory count for the product.
Uncheck the option to keep the product always available on your website.
Provide the SKU or barcode for the product.
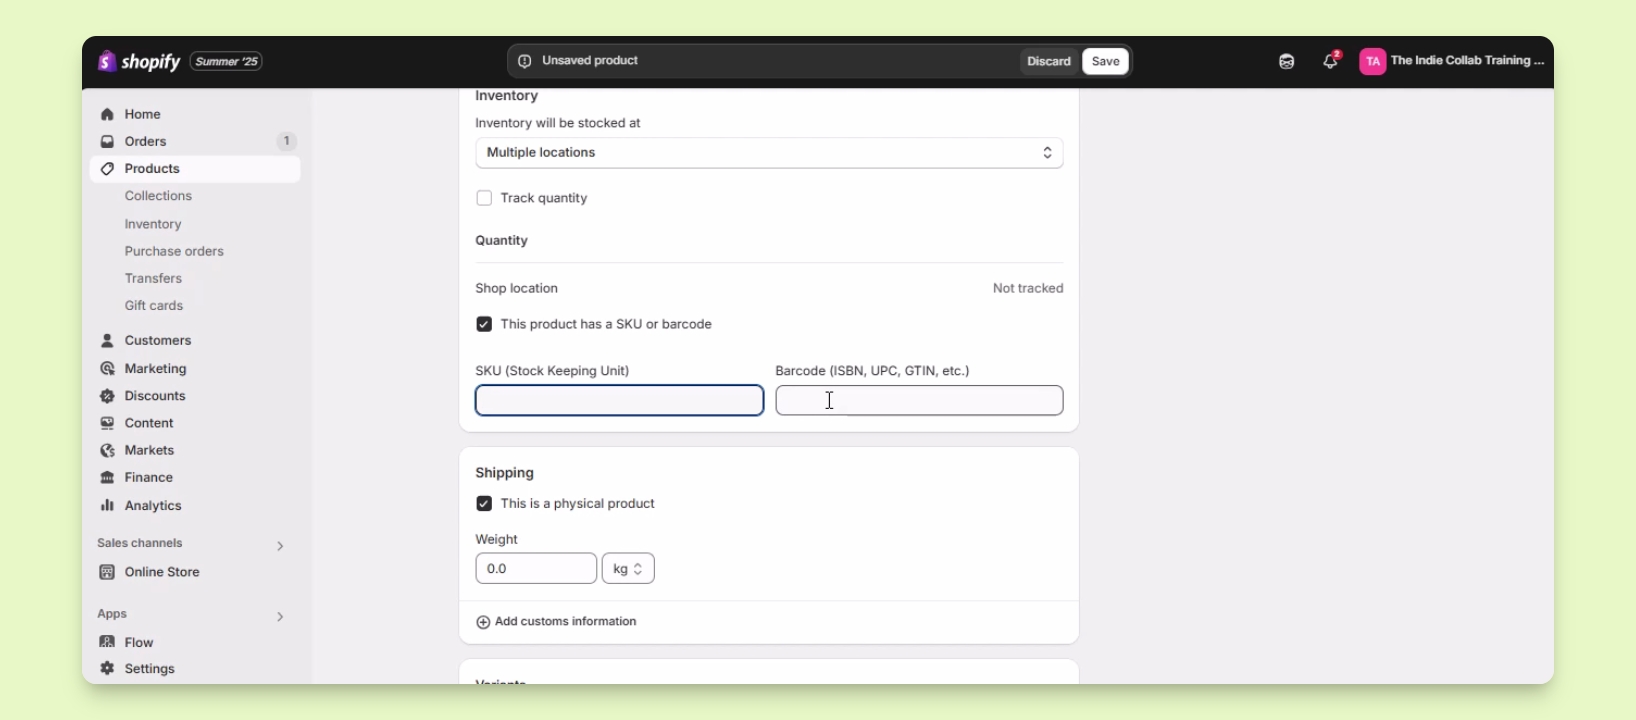
Step 5: Specify Product Type
If selling a digital product, uncheck This is a physical product.
For physical products, ensure it is checked and enter the product weight.

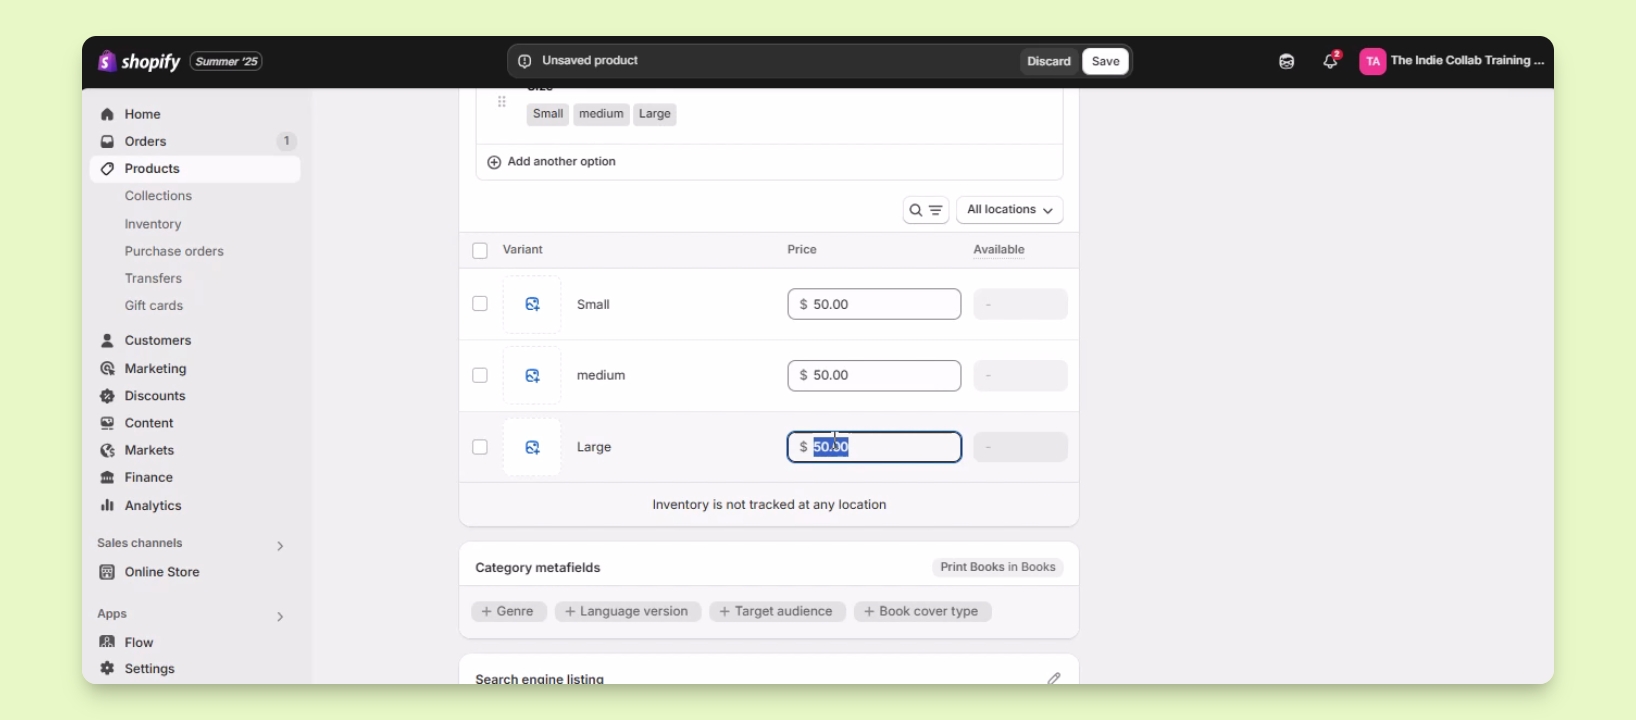
Step 6: Add Variants
If the product has options like size or color, click Add options.
Select from recommended options or create your own.
Set the option name and values, then click Done.
Set the price for each variant and assign specific images if needed.
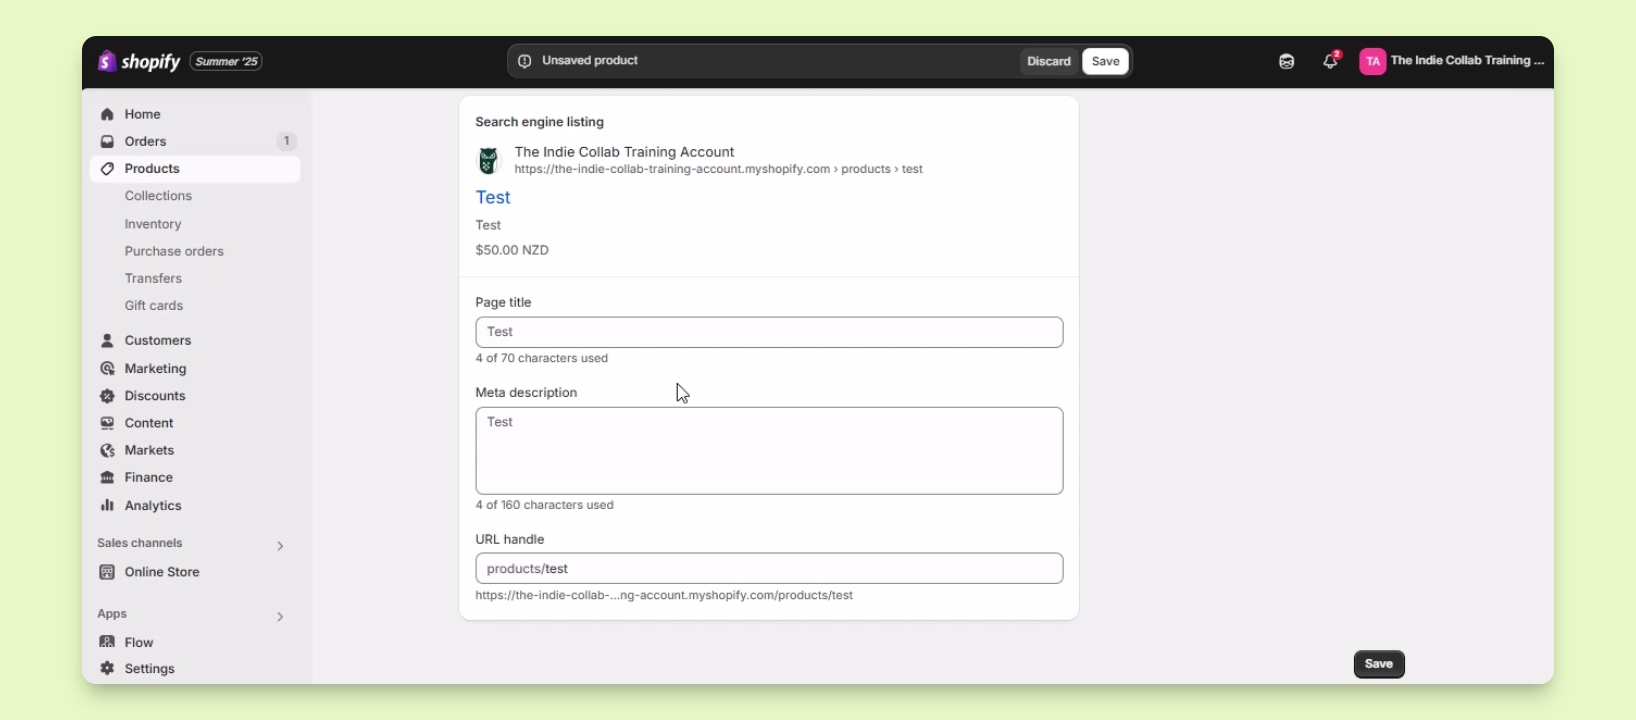
Step 7: Optimize for Search Engines
Under Search engine listing, enter the meta title and description.
Edit the URL handle and add relevant keywords.
Add product tags to improve categorization.
Step 8: Set Product Status
Choose Active to make the product available immediately.
Select Draft if the product is not ready for sale.
Step 9: Save Product Information
Click the Save button to save your product information.
