
TL;DR
Let's Do It Together!
Step 1: Prepare Market Settings
Ensure the country for the shipping zone is set up in your Market settings.
In your Shopify admin, click on Markets.

Step 2: Create a Market
Click the Create Market button in the upper right.
Set the market name as Australia.
Click the Add Condition button beside includes and search for Australia.
Check the box beside it and click Done.
Click Save to save the changes.
You will see a Manage Shipping button once done.
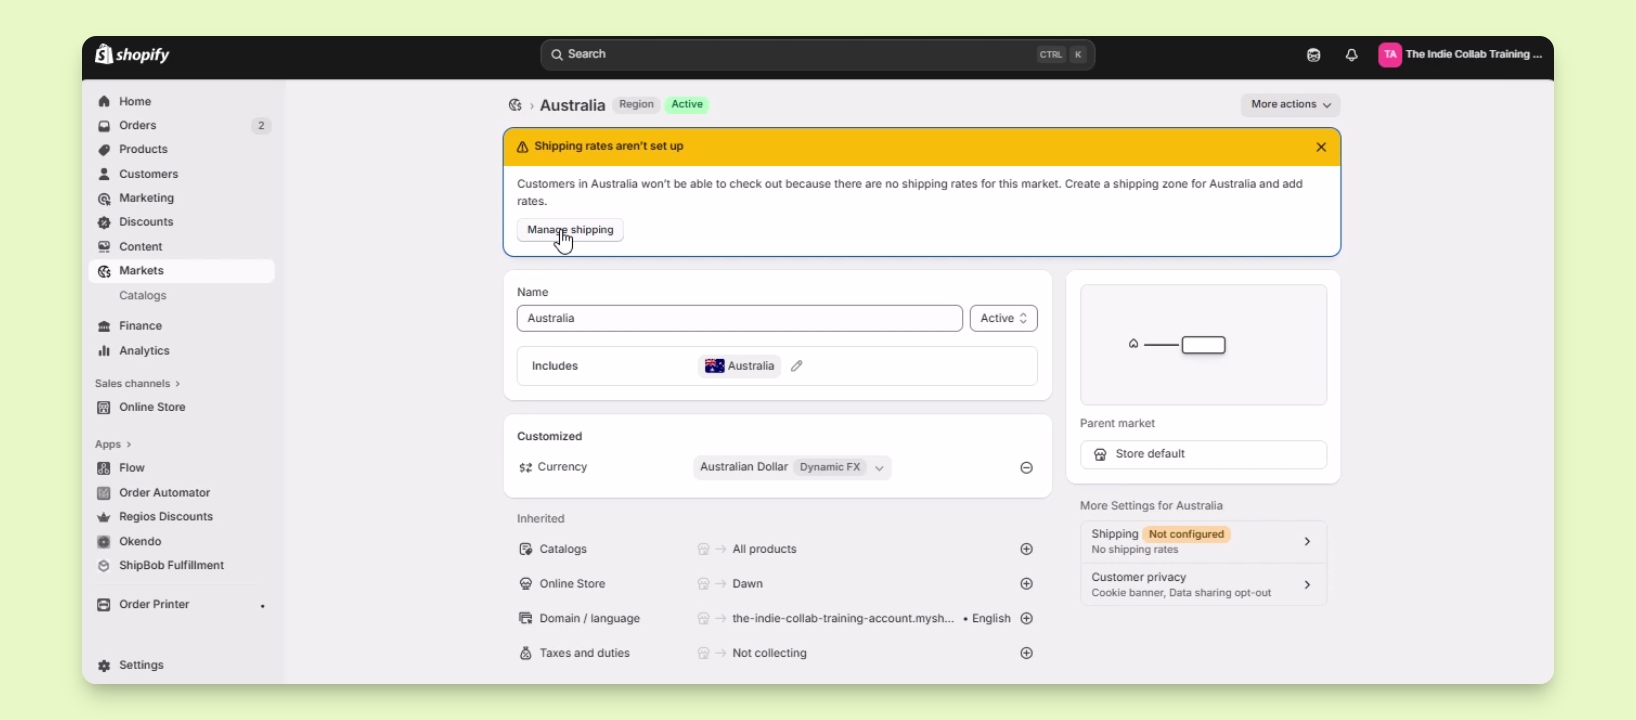
Step 3: Access Shipping Settings
Click on the Manage Shipping button to go to Shipping and Delivery settings.
Alternatively, go to Settings and select Shipping and Delivery.
You will be redirected to the Shipping and Delivery settings.
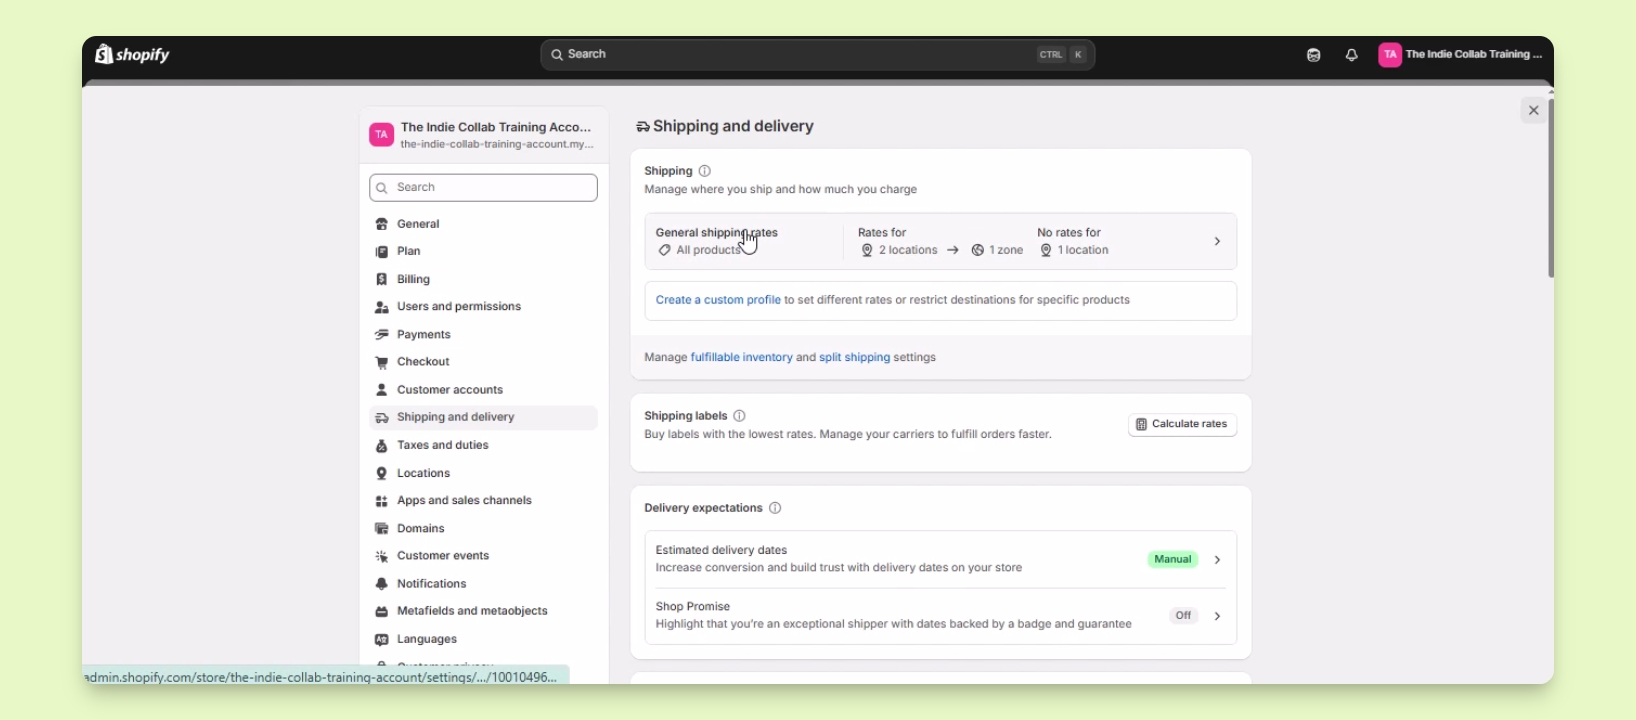
Step 4: Add Shipping Zone
In the Shipping and Delivery settings, click on General shipping rates.
Find the Shipping zones option and click Add Shipping Zone.
Name the shipping zone as Australia.
Select the countries and regions to include in this zone, checking the box for Australia.
Click Done to finalize the selection.
You will see Australia listed under your shipping zones.
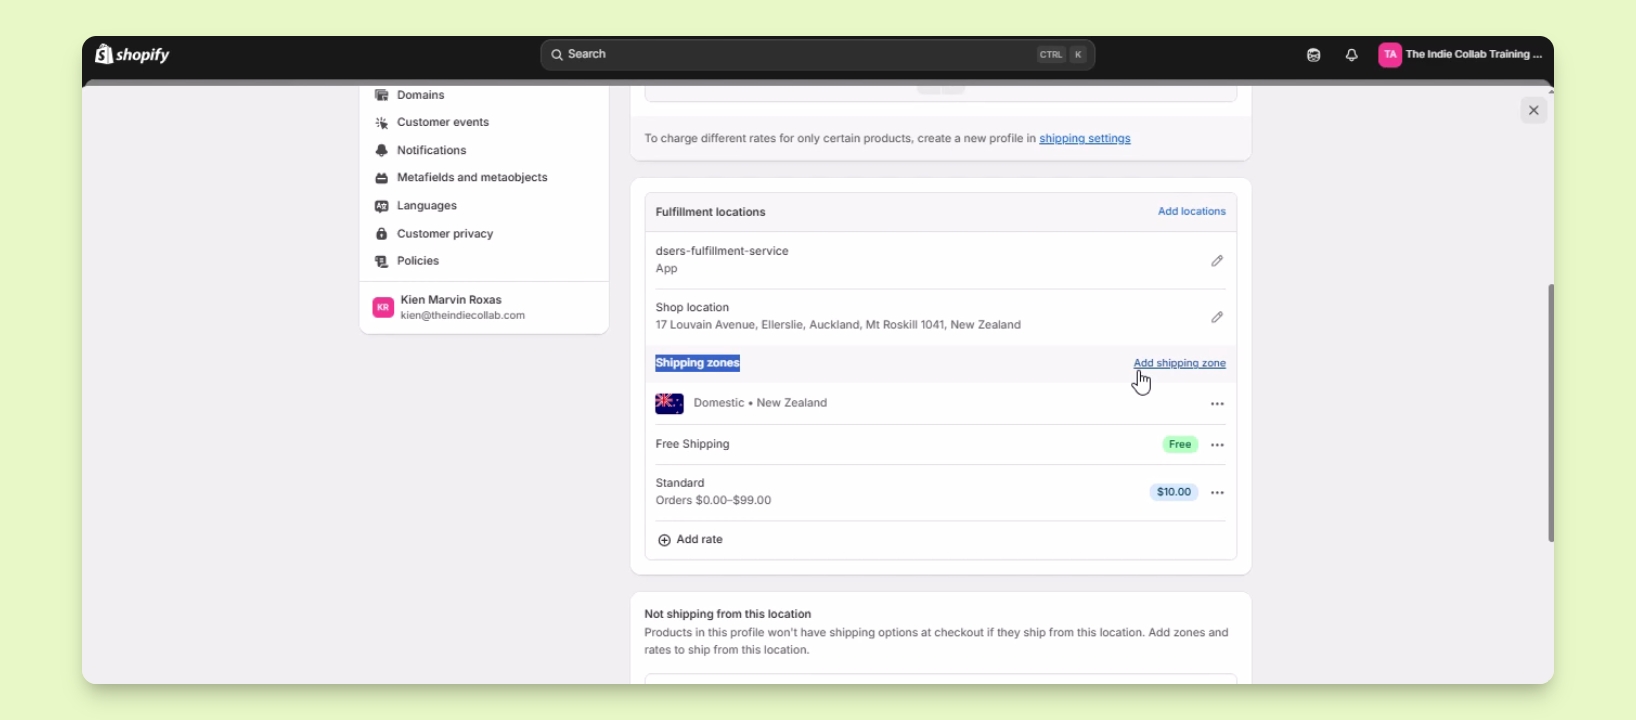
Step 5: Set Shipping Rates
Click on Add rate to start adding shipping rates for your Australia shipping zone.
After adding rates, click Save.
Your shipping zone in Shopify is now set up.
